-
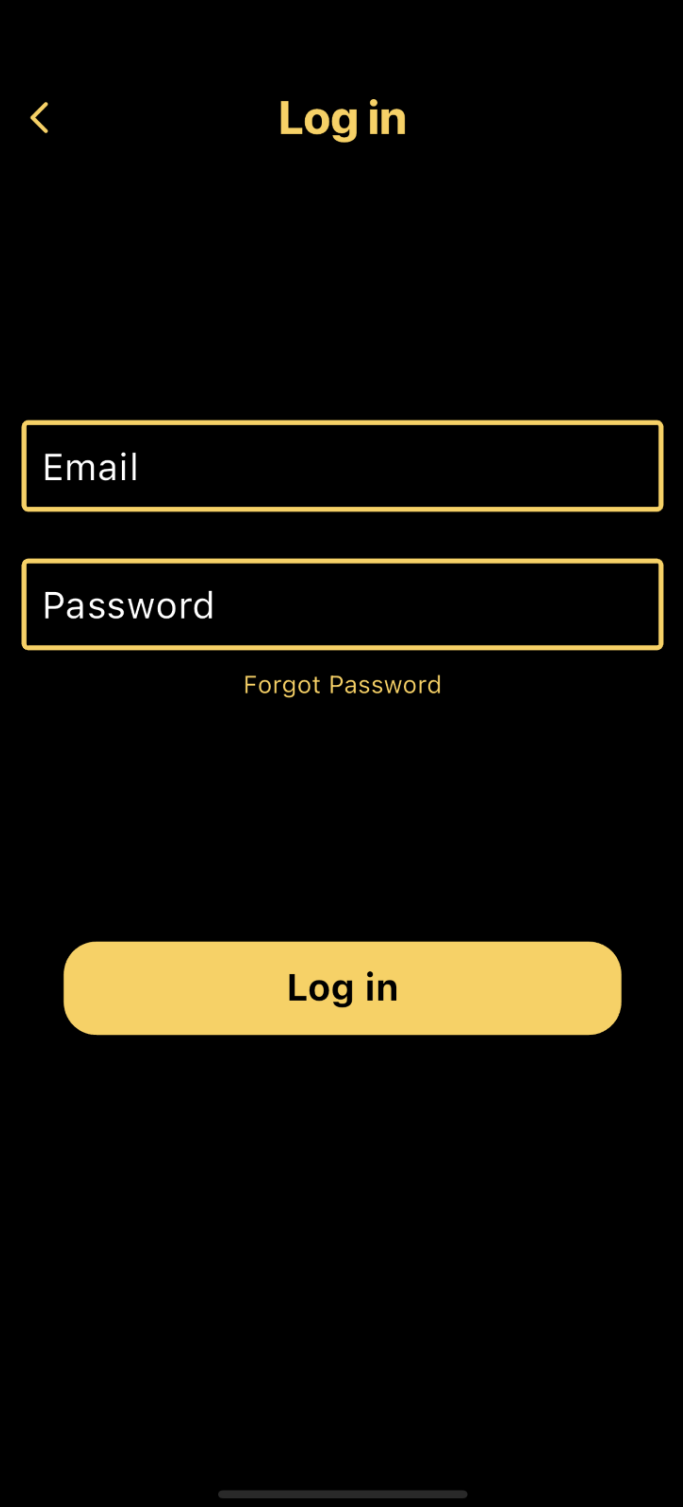
Step 1: Open the App & Log In
Download the Verdeapp from TestFlight. Once installed, open the app and create a new account to get started.
-
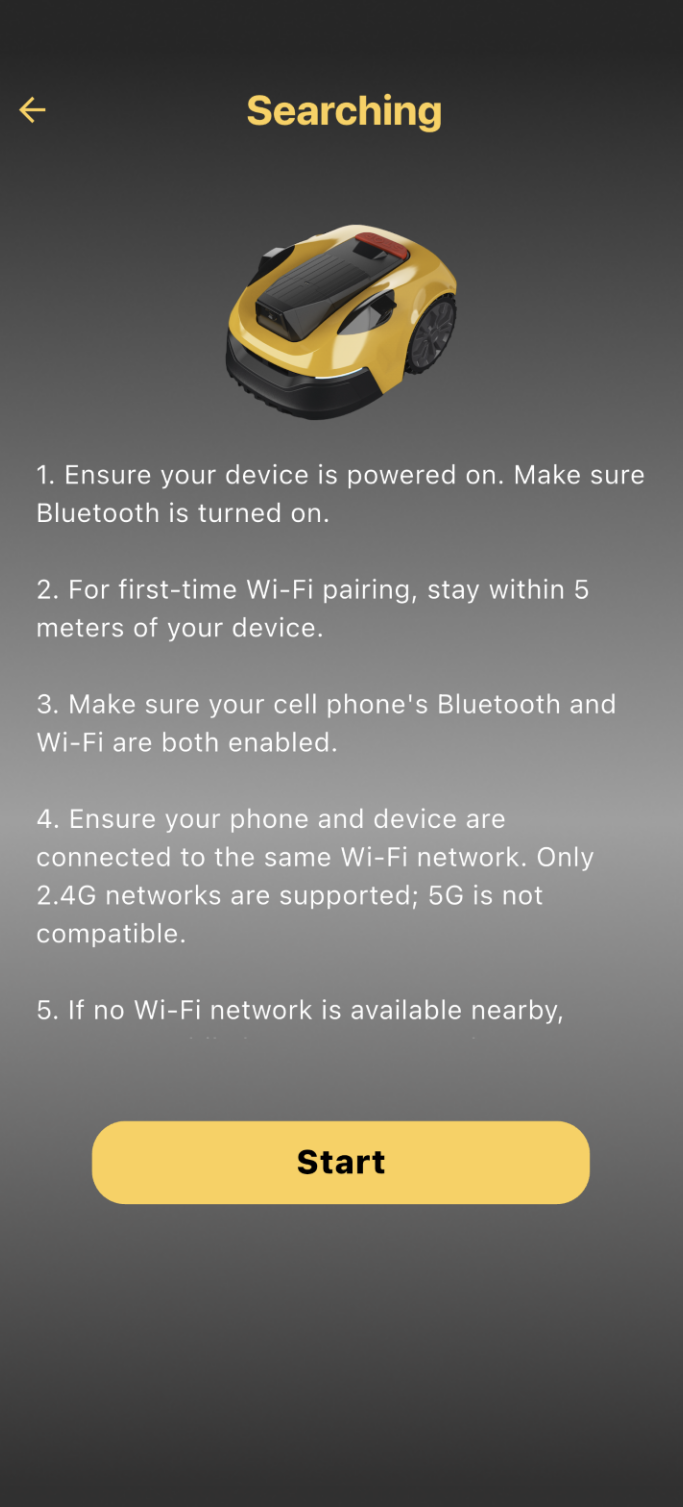
Step 2: Pair the Device via Bluetoot
After logging in, tap “Add Your First Device” and make sure Bluetooth on your phone is enabled. Follow the prompts to pair your phone with the mower.
-
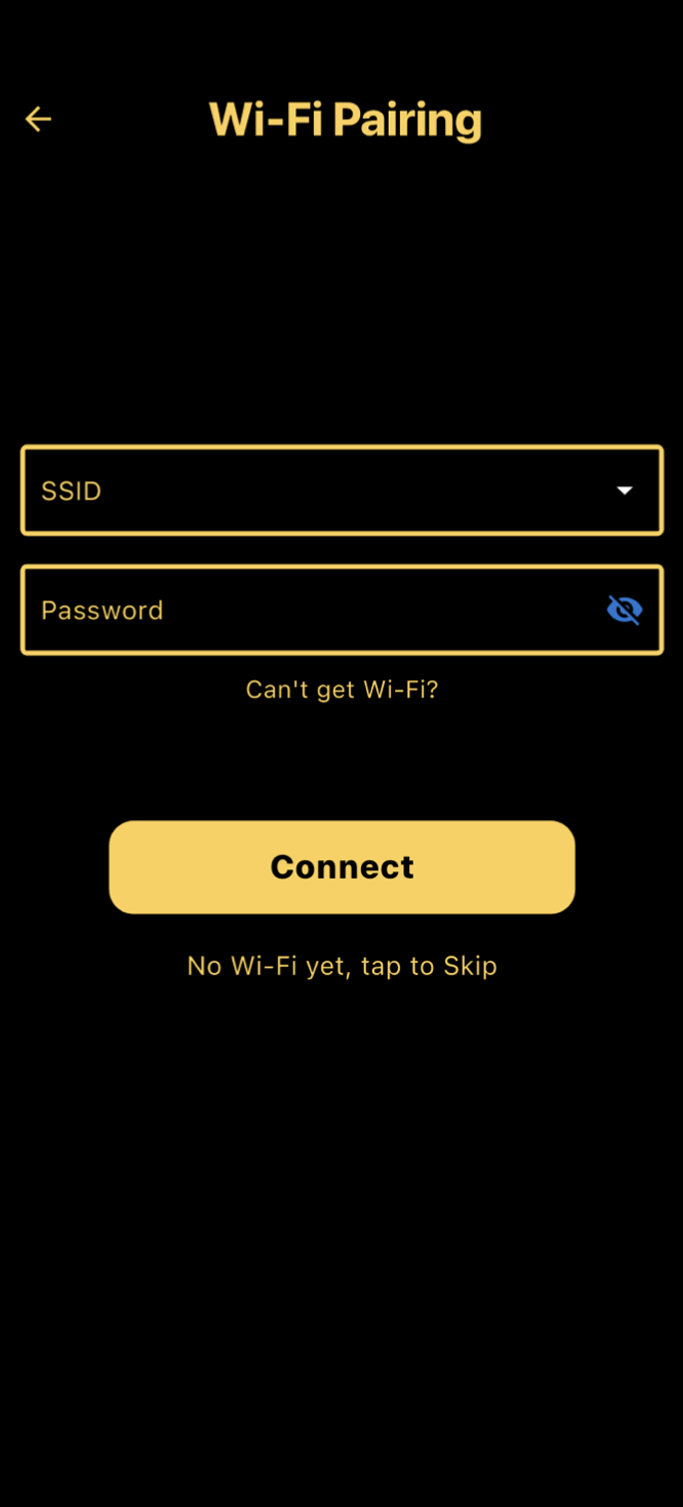
Step 3: Connect to Wi-Fi
After Bluetooth pairing, the app will prompt you to connect the mower to your Wi-Fi. Enter your Wi-Fi network name and password to complete the connection. If you are unable to add Wi-Fi, you can tap the skip button.


-
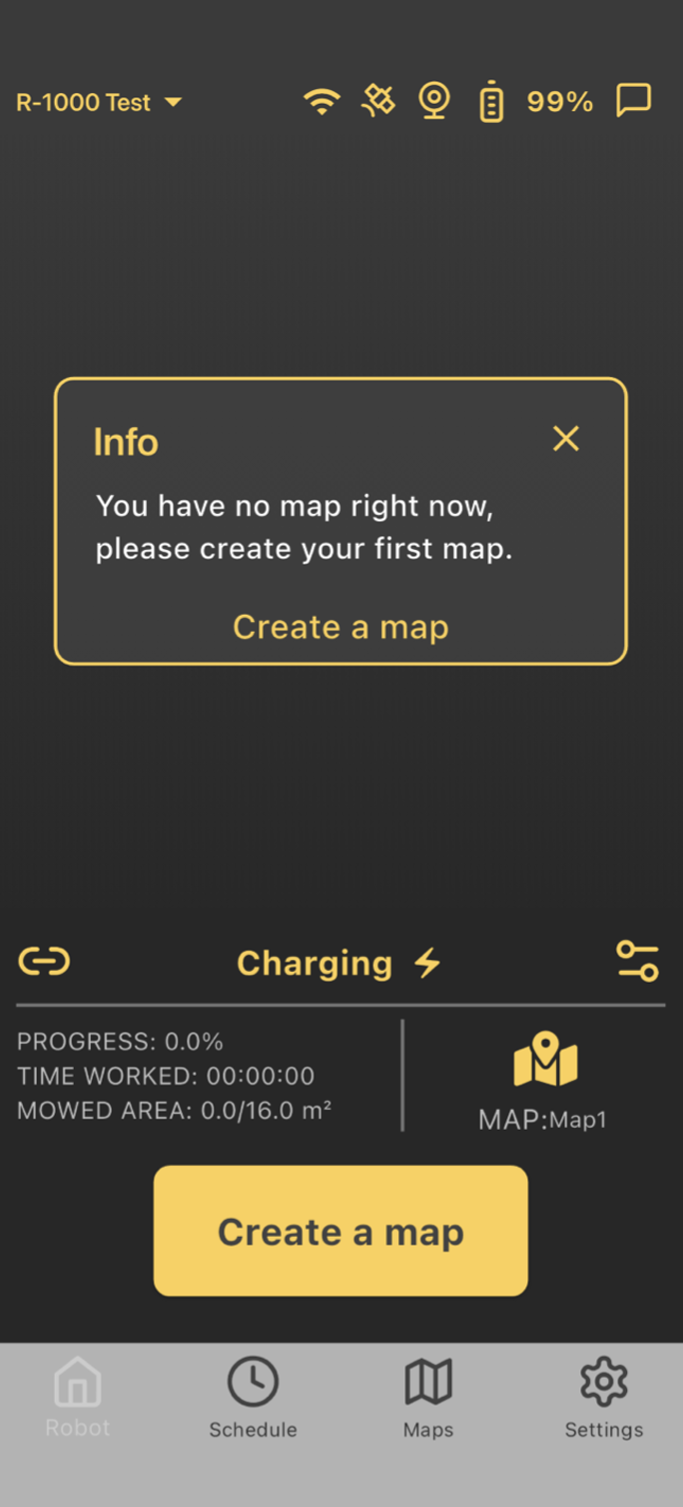
Step 4: Creating your first map
This will define the zones the mower will mow in the future. Click add and either select Auto or Manual mapping. Auto mode maps the perimeter automatically, while Manual mode lets you control the mower to map the area yourself. Once the mapping is complete, closeand save the zone.
-
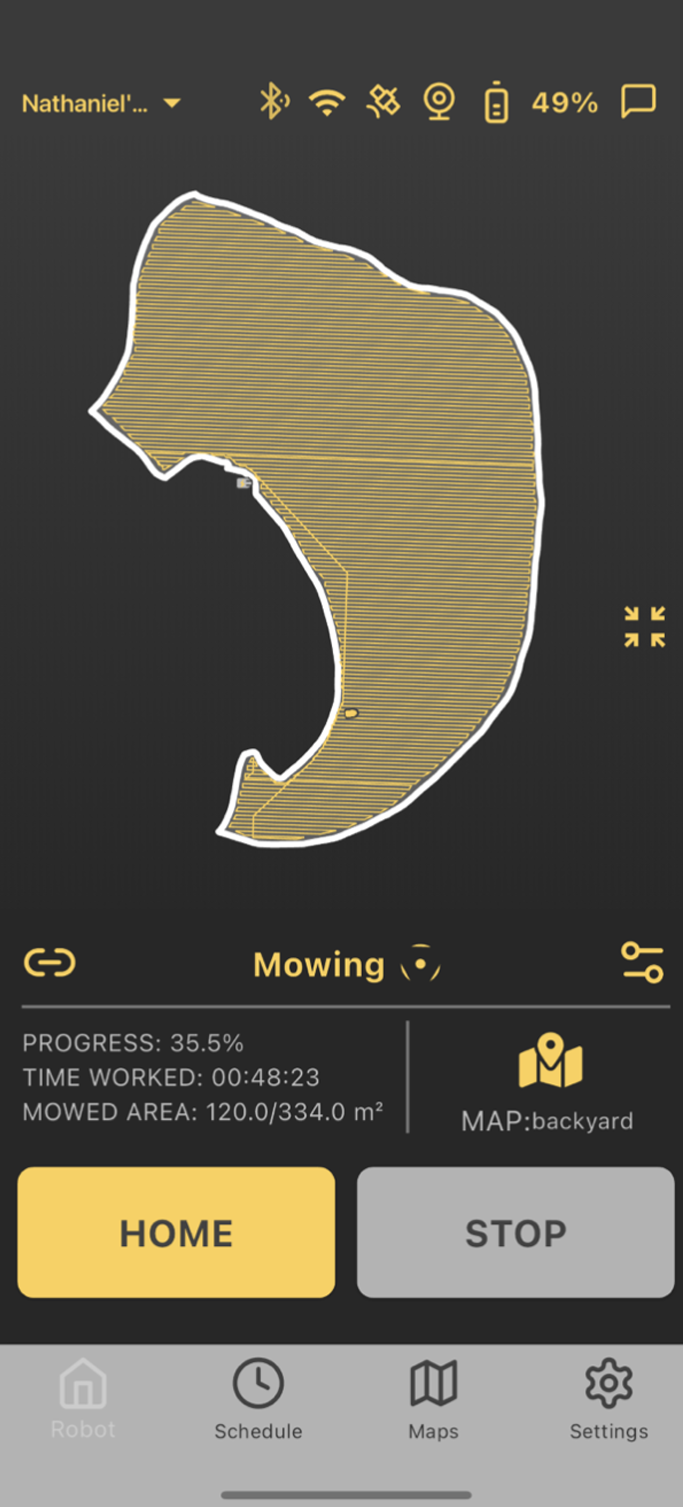
Step 5: Start Mowing
Tap “Mow” on the app’s home screen to start mowing the designated area. The mower will automatically return to the charging station once the task is complete or if it needs recharging, resuming from where it left off when fully charged. To stop mowing and send the mower back to the station, simply tap the home button.

